

July is “Smart Irrigation Month” deemed so by the Irrigation Association since 2005, because that’s typically when the hottest temperatures occur, and irrigation use is at the highest.
Follow these instructions to perform a check-up on your in-ground sprinkler system. This should be performed at least once a year, ideally before starting to use the system routinely. Dress to get wet!
1. Make note of the type of controller you have and how many stations (also called zones) are used.
2. Use the Use the “Test Program” or “Manual Program” setting on your controller or create a program to run for 3 or 4 minutes per each zone. [If additional help is needed on setting minutes, consult your controller manual or the manufacturer’s website for the manual.]
3. Once the test program is running, take notes for each zone, for the following:
- Plant type (lawn, shrubs, trees, annuals, etc)
- Sprinkler head type (spray, rotor, bubbler, drip)
- General sunlight (full sun, part shade, shady)
4. You’ll also record any issues you find as you inspect each zone. An Excel spreadsheet works well for tracking problems and creating a watering schedule. When the zone turns on, walk the whole area, looking at each sprinkler head that is running for the following issues:
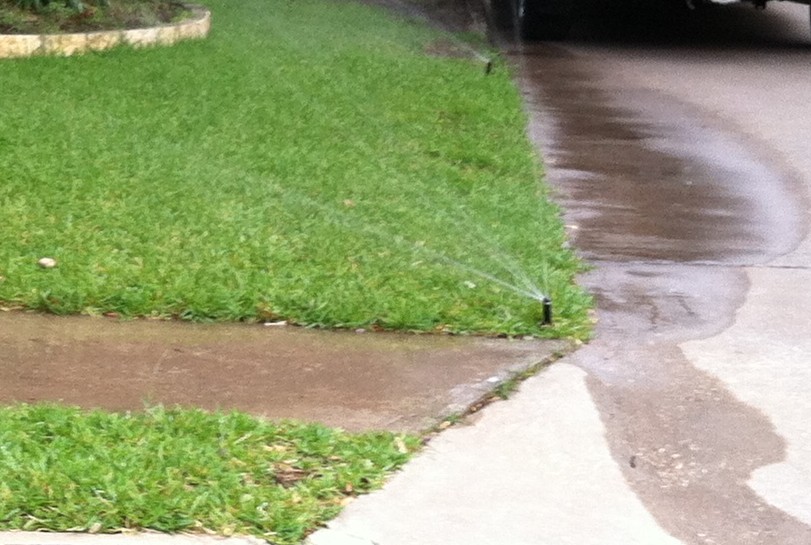
- Overspray onto the sidewalk, driveway, or street. Heads can be turned to the proper direction, or adjusted to reduce the water spray;
- Heads that are not operating or have reduced water flow – they may be clogged and need to be cleaned;
- Heads that may be broken at their base or gushing out the top—these should be fixed asap;
- Heads that are no longer straight up and down – this causes uneven watering, the head can often be dug up and physically straightened;
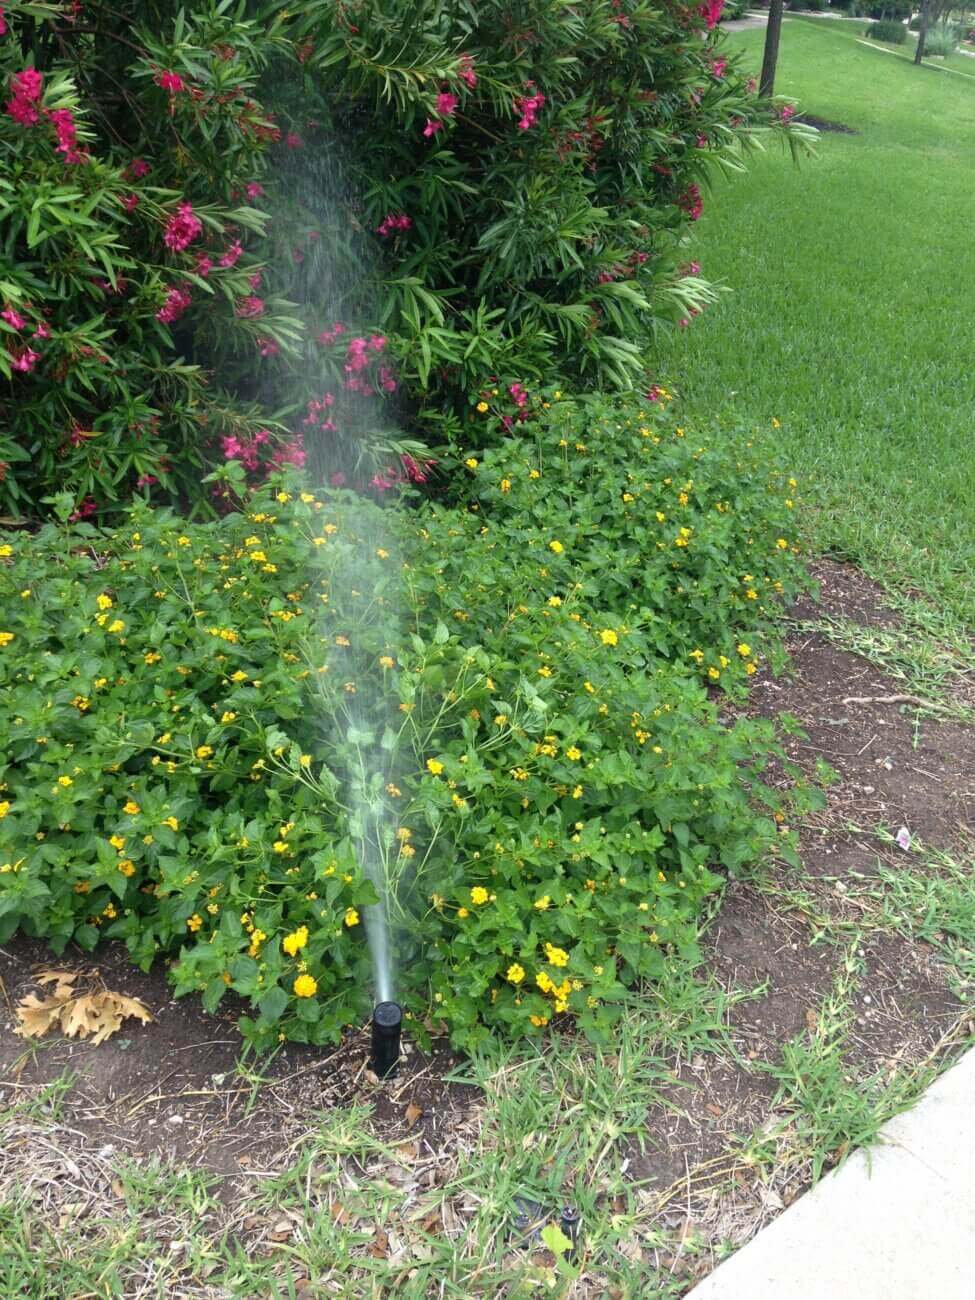
- Heads that cause a cloud of mist—this is caused by high water pressure
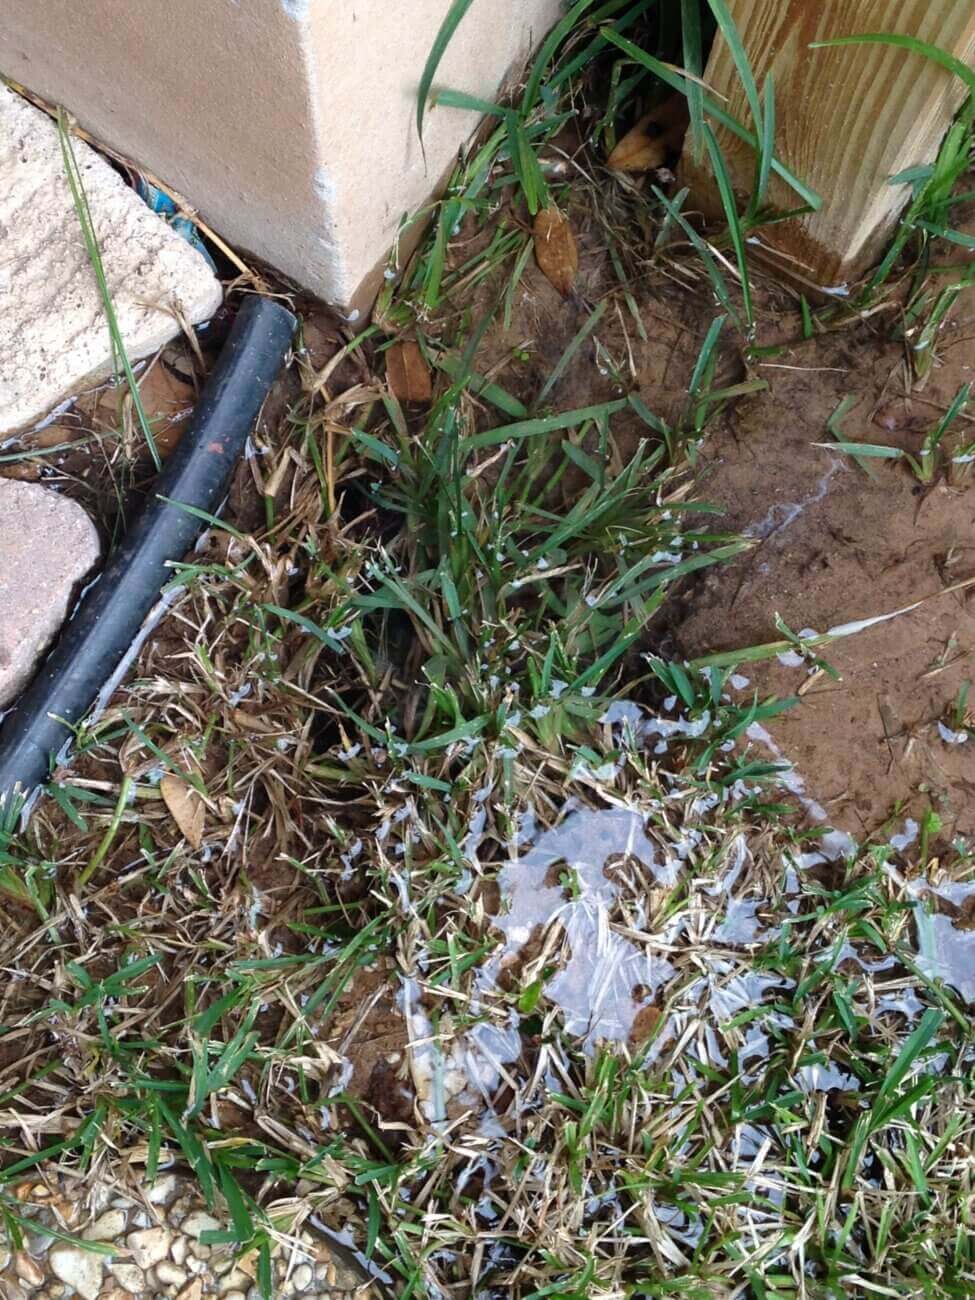
- Water coming out of the ground where there is no visible head—this could be a buried head or a leak in the irrigation pipe;
- Areas that do not get watered because the head is blocked by something—tall or bushy plants or trashcans can block heads.
5. Ensure your controller has the rain sensor option on “ACTIVE” and that the sensor still works. We have instructions on how to do this on our website under the Irrigation System Maintenance section and a video.
Once all zones have run, you can go back to fix items you are able to (we have some helpful videos on our website); if you can’t do the repairs yourself, contact a TCEQ Licensed Irrigator to perform repairs and then apply for our Smart Irrigation Rebate.
Remember to adjust your schedule according to the change in seasons and stay mindful of our Year-Round Watering Rules.
- Spring and Fall – 20-50% less than the average summer schedule. Once per week watering at most.
- Summer – no more than twice per week, if needed.
- Winter – turn off the controller during wastewater averaging, which is the November – February billing periods.
So that’s the basics of performing a system check! Do it monthly to physically see how the system is working, that what is supposed to be watered is actually being watered, AND, most importantly, make repairs and adjustments to the system to keep it running efficiently!
Are you a City of Round Rock water customer? If so, lucky you, remember you can request that our water conservation team come over to perform this check for you for free! Staff doesn’t make repairs, but we can identify issues for you. Schedule an irrigation consultation by clicking here.